Everyone knows the Laravel framework, but not many know how to install it in the Plesk panel, especially if you don’t have SSH access.
Now we will discuss this and provide step-by-step instructions.
-
-
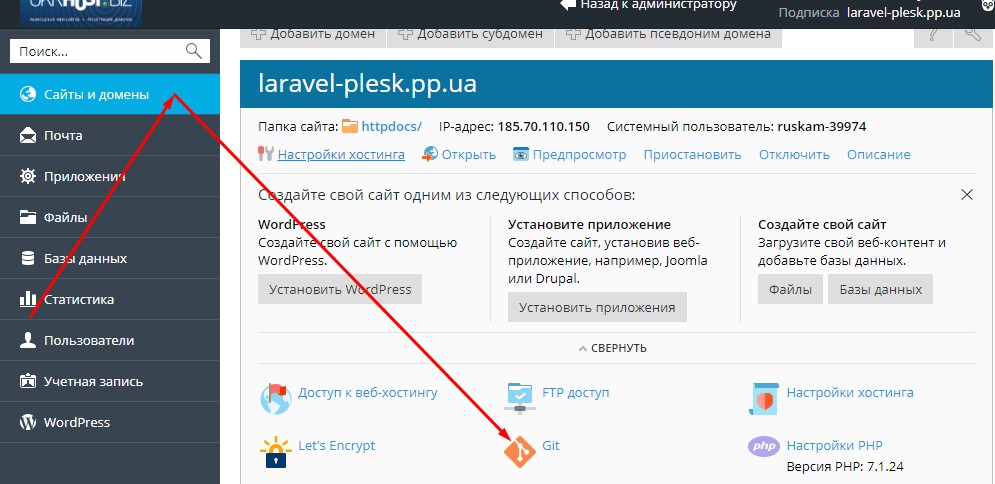
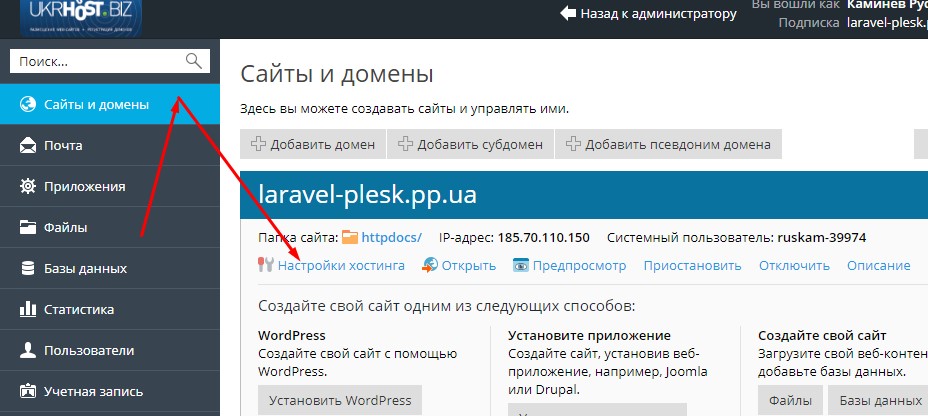
- Open the Plesk panel, then go to the “Websites & Domains” section, click on the domain where you want to install the Framework, then select the Panel tab and click on the icon named SSL/TLS Certificates. And install a free certificate on your domain.
- After that, click on the PHP icon and set the version you need, and also set the open_basedir variable as shown in the screenshot.”

In the Laravel section, click on Install Applications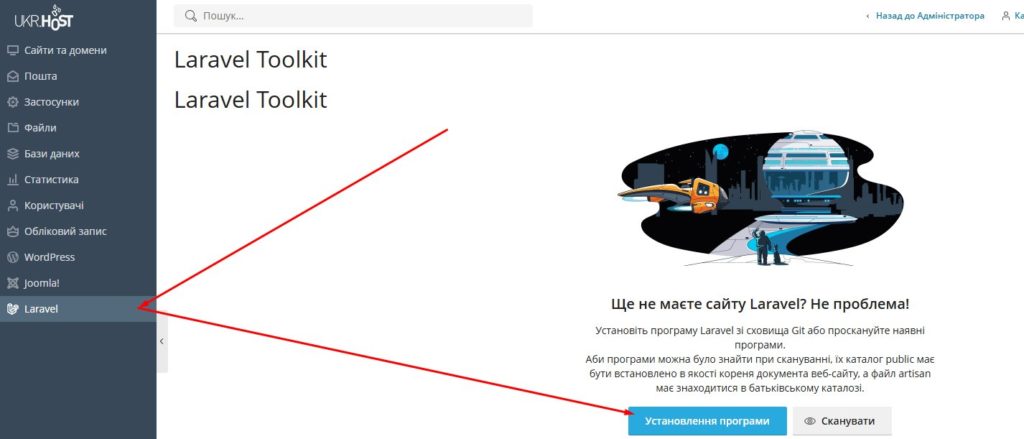
- Select the domain where you want to install Laravel, installation from Git, and specify the Git repository link
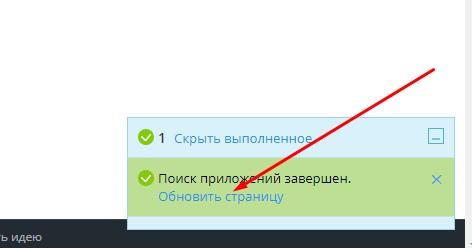
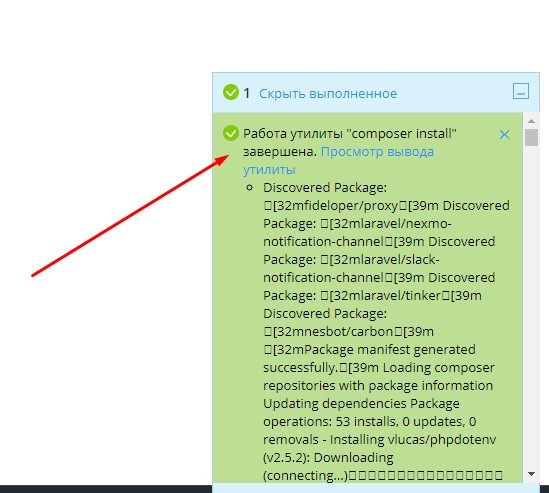
- If you specified everything correctly, you will see this screenshot where everything is completed successfully.
 Then go to the Databases section and create a new MySQL database for our site.
 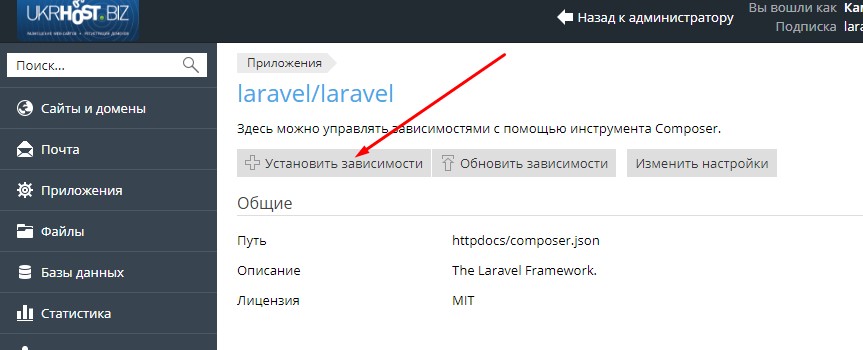 Next, open the .env file and find the block that is marked as DELETE and remove it, replacing it with the ADD block. That is, in this new block you specify the credentials for database access that you created in the previous step:
- Open the Plesk panel, then go to the “Websites & Domains” section, click on the domain where you want to install the Framework, then select the Panel tab and click on the icon named SSL/TLS Certificates. And install a free certificate on your domain.
DB_CONNECTION=sqlite
# DB_HOST=127.0.0.1
# DB_PORT=3306
# DB_DATABASE=laravel
# DB_USERNAME=root
# DB_PASSWORD=change to:DB_CONNECTION=mysql
DB_HOST=127.0.0.1
DB_PORT=3306
DB_DATABASE=ukrhostbiz-55843_laravel
DB_USERNAME=ukrhostbiz-55843_user
DB_PASSWORD=1nMU&qwjd6X7jno_
-
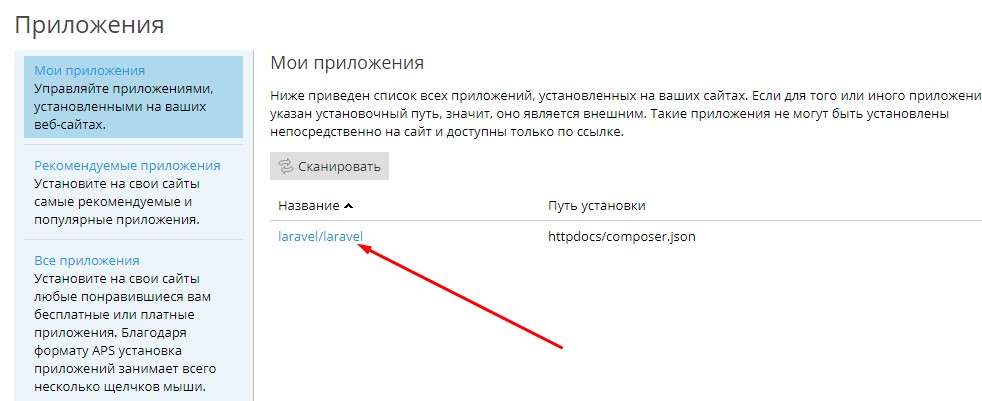
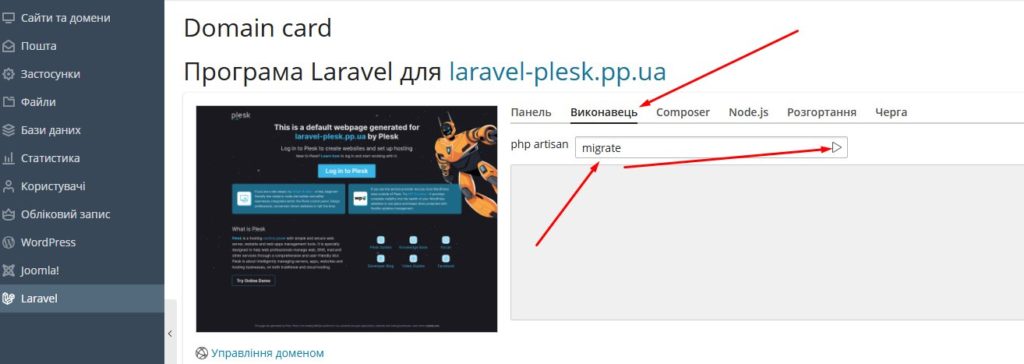
- In the Laravel section, click on your domain name.
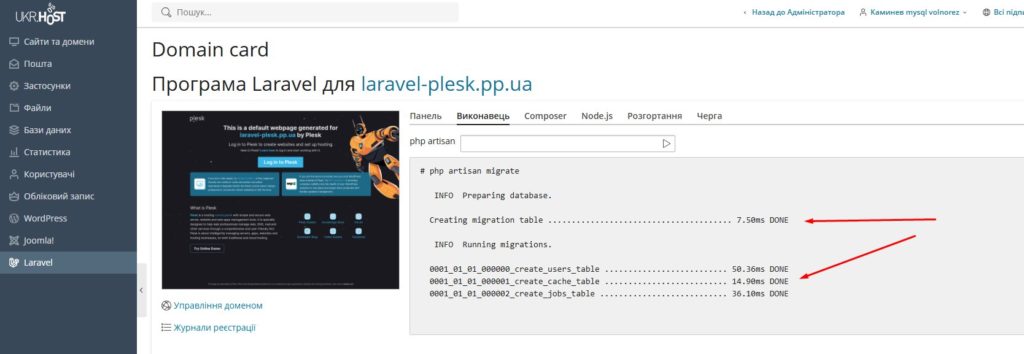
- After that, run php artisan with the migrate option to populate the database
- If you specified everything correctly, you will see the following result:
- Now it’s time to open your site and see the result.
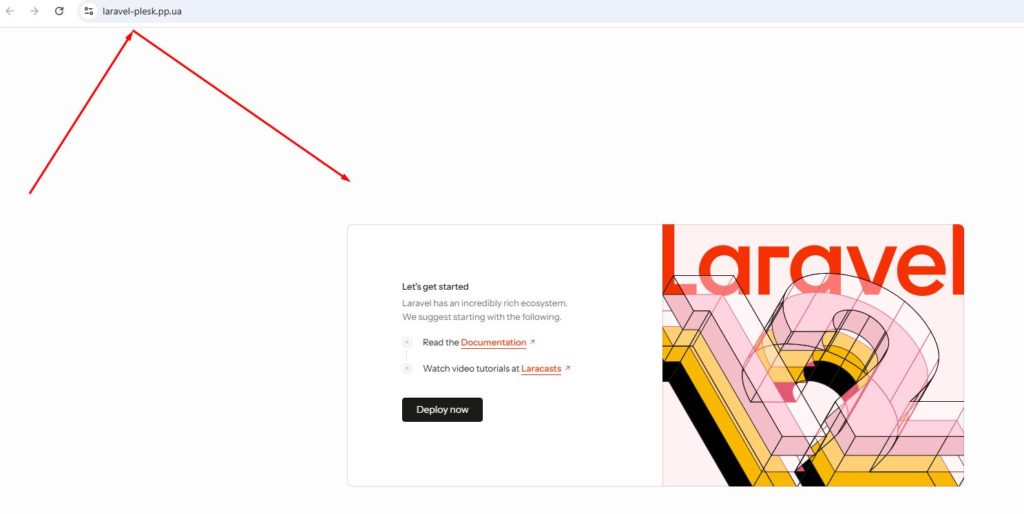
This is what it looks like for us.
Related Posts